
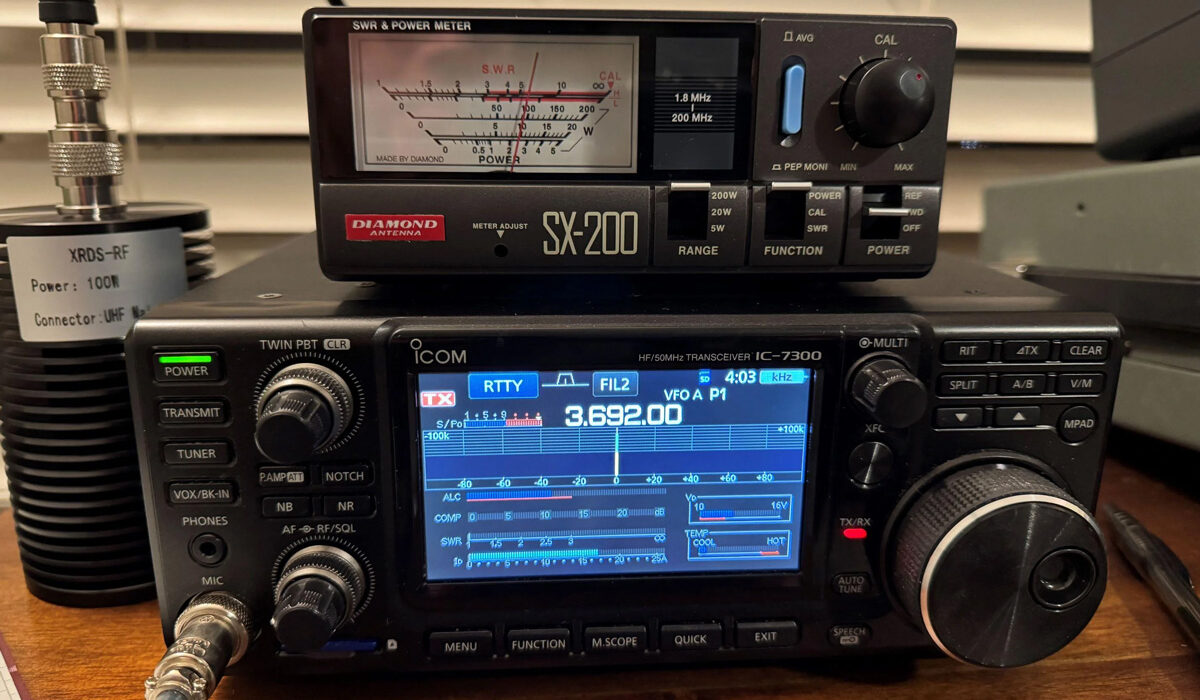

So, there an operator is. They have set the multi-function button to Power, and have it set at 50%–in a continuous duty cycle like CW or RTTY. This setting should correlate to ~50 watts output on an accurate power/SWR meter. Yet, that known device reports only 46 watts to the dummy load. But fear not, for once we have eliminated other possible causes of this issue–such as SWR and such–the output can be properly calibrated through the radios service menu.
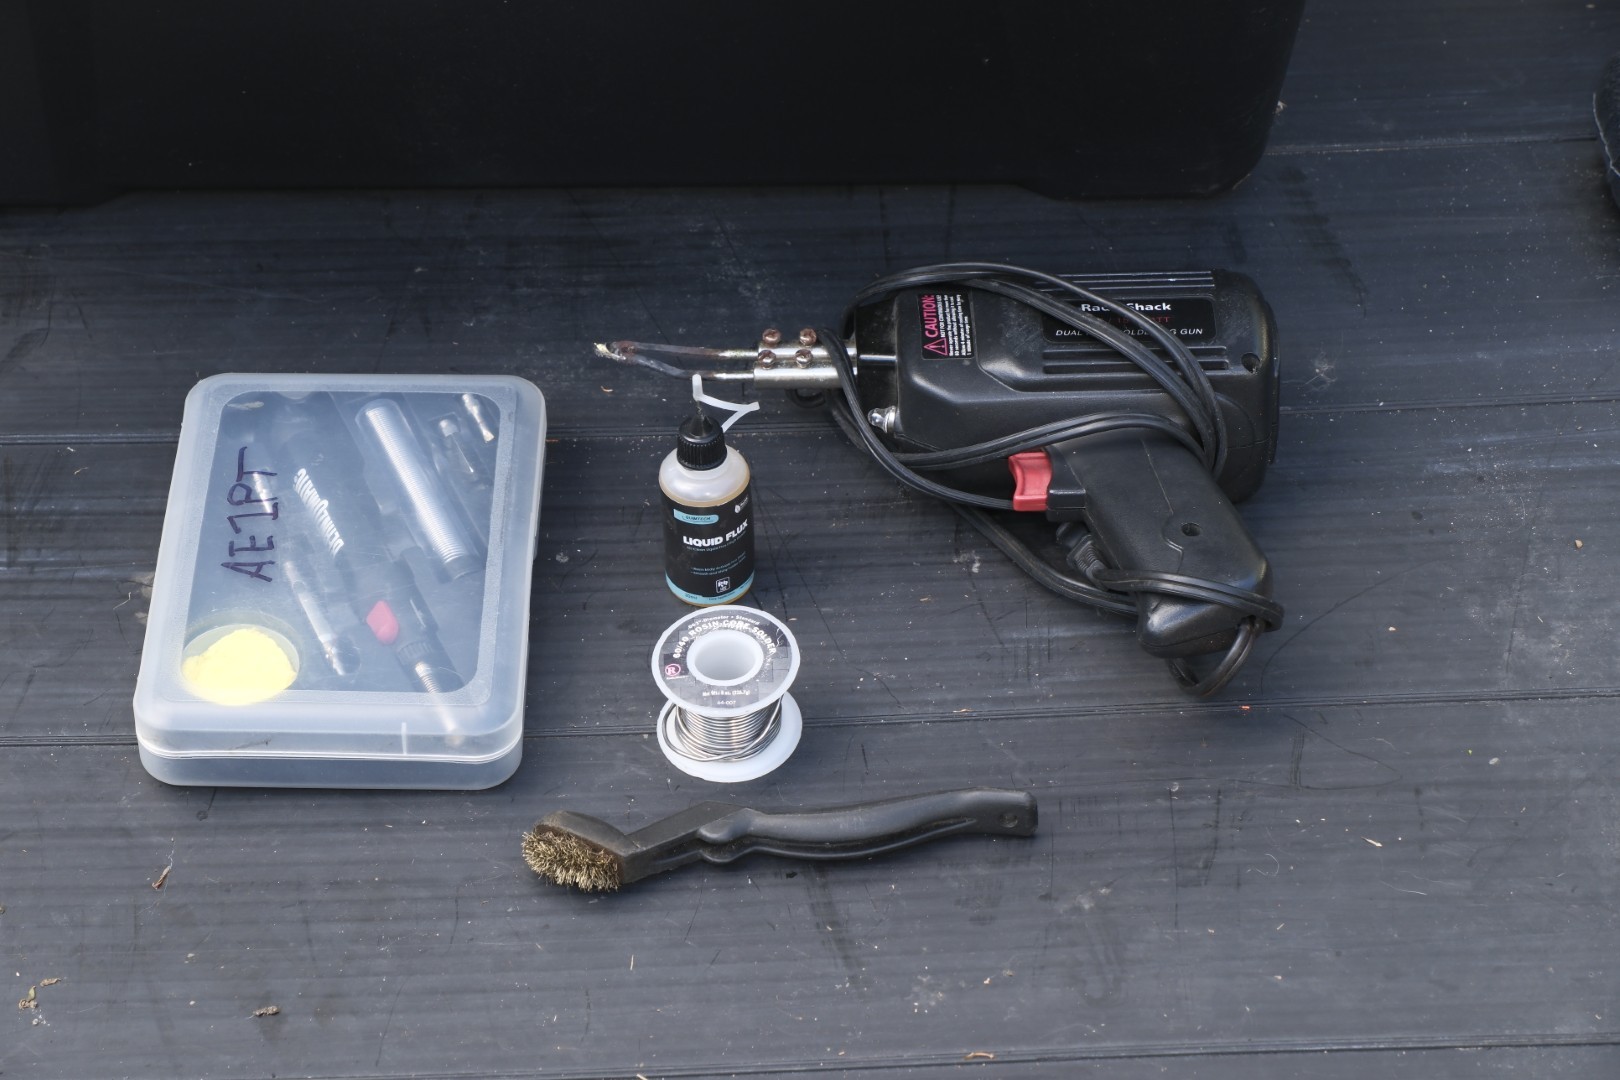
To get started, most people will need to construct a shorting plug for use in getting to the service menu. This is a simple, standard 3.5mm headphone plug with the sleeve and tip shorted together with solder or an alligator clip lead. Some anecdotal info relates that this can also be done with an actual headphone–but my preference is for an actual, dedicated jig to accomplish this
This calibration requires entering the radio’s service menu. Proceed with caution.
- Precautions: Connect the radio to a quality Dummy Load and an external calibrated wattmeter before starting.
- Service Menu Entry: Turn the radio off. Hold down the MENU and VFO/MEMO buttons while turning the radio on to boot into service/adjustment mode. This method only works on some earlier versions of the 7300.
- If the previous method does not work on your radio, power off the radio, connect a short/shunt plug (or a standard 3.5mm headphone plug with the sleeve and tip shorted) to the REMOTE jack on the rear panel, hold down both the MENU and F-1 (function) buttons simultaneously, and turn the power back on.
- Accessing Adjustments: Press the MENU button, tap Set, and look for the hidden adjustment/calibration pages (specifically the TX power meter settings for individual bands).
- Adjusting Readings: Key the radio using a constant carrier mode (like CW or RTTY) at set power levels (e.g., 10W, 50W, 100W). Match the internal meter scale adjustment parameters to the external wattmeter reading shown on your external gear.
- Saving Changes: Save the settings before powering the radio down normally to write the new calibration values to the EEPROM. (Note: Entering the service menu without proper equipment or changing incorrect hex/voltage values can misalign your transmitter, so proceed with extreme caution.)
Here is a handy YouTube video on the process:
It is important to note that for the percentage of the power set via the multifunction knob to gain sync and accuracy with the actual continuous mode output wattage–the radio MUST be set for 100 watt maximum during testing–and adjusted through the service menu to deliver that output. Modifications that change the base output power of the 7300 upwards will always reflect the percentage of real output power, and will change the ratio between the actual output and the percentage shown by the multi-function knob.
This follows that a radio adjusted to deliver 125 watts carrier will do just that when set to 100%. It’s only when the relationship is equal 100=100 that it is natively accurate. Further adjustment deeper into the programming can be done, but requires a bit of bench equipment in addition to an accurately calibrated power meter. This is why I recommend the ALC modification cited in another article here–leaving the native power at 100 watts calibrated, and achieving increased power through PEP means.